What is Google Tag Manager?
Google Tag Manager (GTM) is a free tag management system that allows you to quickly and easily update website tags (such as analytics and tracking pixels) without having to update your website’s code. It simplifies tag management and makes it easier to track and optimize your online presence. You can manage all of your tags in one place and deploy them quickly and easily with GTM.
One of the most significant advantages of Google Tag Manager is the abundance of available tag templates. The tool comes with templates for over 90 different types of tags. Instead of adding code to the system, simply enter a few variables such as your Google Ads account ID. The rest is handled by the template.
Another benefit of using Google Tag Manager is the ability to set triggers to determine when the tracking code is loaded. Instead of loading every tag on every page, you can load only the ones that are relevant to the page and improve site performance.
More tracking codes or scripts are required for e-commerce platforms such as Shopify. Consider using Google Tag Manager with Shopify if you’re having trouble keeping all of your pixels and scripts straight and up to date.
Google Tag Manager installation in Shopify is a simple and straightforward process. Here are the steps you must follow:
Create a Google Tag Manager and Generate your Tag
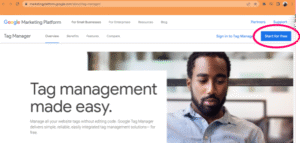
1. Go to Google Marketing Platform.
2. Click “Start for free” and sign in with your Google Account.
3.Choose “Create an Account” from the menu.
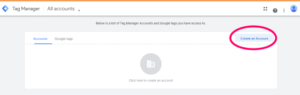
4. You will be taken to the Add New Account page. Fill out the form to create your account.

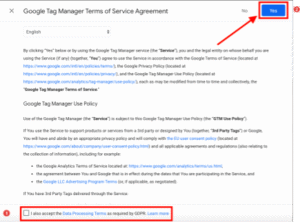
5. After reading and accepting the Google Tag Manager Terms of Service Agreement, click the Yes button.
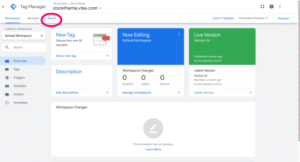
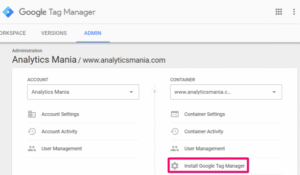
6. Now that you’re in your Google Tag Manager Dashboard Tag Manager, navigate to the “Admin” tab section.
7. Click Install Google Tag Manager.
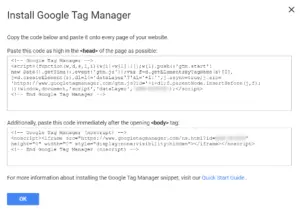
8. You will be redirected to a page with the code that must be installed on your website.
Add Google Tag Manager code to your Shopify Theme
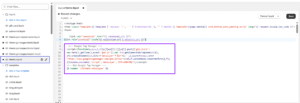
9. Log in to your Shopify account and go to Online Store > Themes.
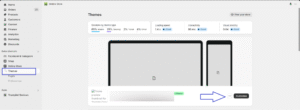
10. Click Edit Code in the theme drop-down menu.
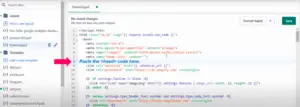
11. Copy the <head> code from Google Tag Manager and look into the head> tags of your theme.liquid.
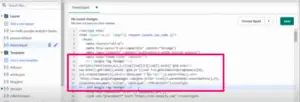
12. Scroll down and paste the head> code from Google Tag Manager directly beneath the meta tags. Then click Save.
After:
Verify that Google Tag Manager is installed
13. Install the Tag Assistant Chrome extension from Google, then click the Tag Assistant icon on your Chrome browser. You should now be able to view all of your active tags and whether or not they are experiencing any issues.
14. 
15. Congrats! You may now add additional Tags and Tracking Pixels to your site. GTM will make your life simpler!
Brandraz helps you with any type of conversion tracking. Feel free to reach out to use for ecommerce conversion tracking for lead gen conversion tracking.

